How to Check Brake Pads Before They Become Unsafe
Your brakes rarely fail without giving you some warning first. A squeal when pulling up at the school gate, a grinding noise in traffic, or an MOT advisory can all point to worn pads. Knowing how to check brake pads can help you spot a problem early, before a straightforward pad replacement turns into damaged brake discs and a bigger repair bill.
In most cases, you can carry out a basic visual check at home. But brakes are safety-critical, and not every problem can be seen through the wheel. If anything feels wrong when stopping, the sensible next step is a proper inspection at a garage.
What brake pads do and why they wear out
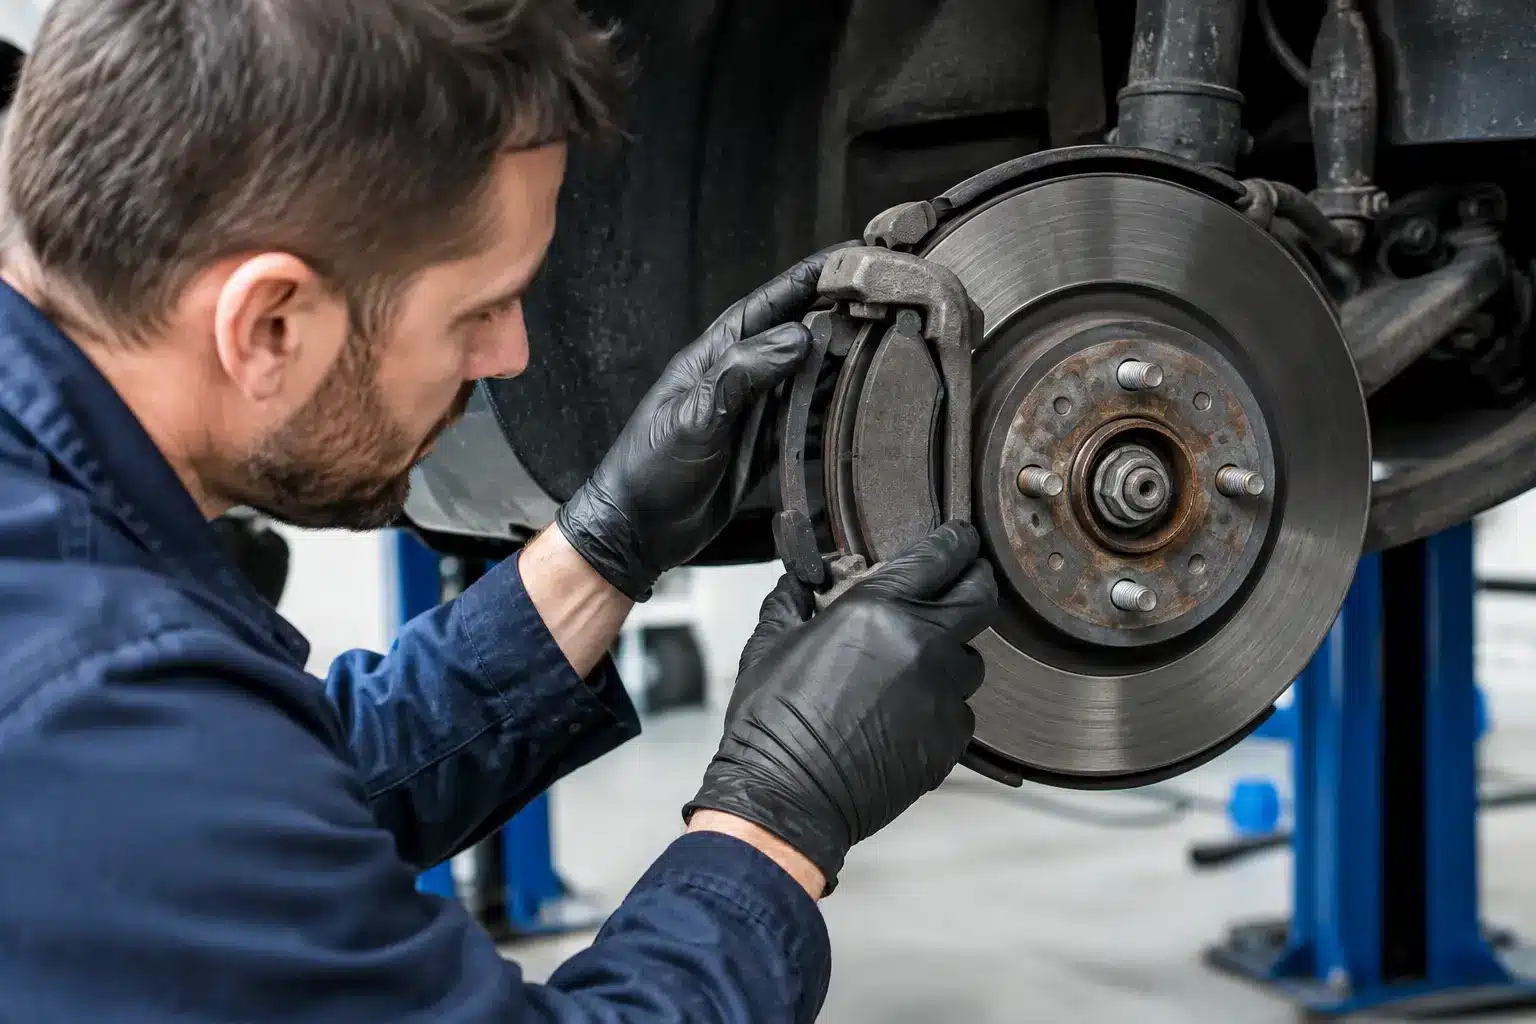
Brake pads sit inside the brake calliper and press against the brake disc when you push the brake pedal. The friction slows the car down. Every stop removes a tiny amount of pad material, so pads are designed to wear out over time.
How long they last depends on the car and how it is driven. Town driving, school runs, heavy traffic and regular short journeys usually wear pads faster than steady motorway miles. Front pads often wear sooner because they do most of the work when the vehicle slows down.
We often see cars where one pad has worn much more quickly than the others. This can happen because a calliper is sticking, the slider pins are seized, or the pads are not moving freely in their carriers. Replacing pads without finding that root cause may only delay the same issue.
How to check brake pads through the wheel
Park on level ground, switch the engine off and apply the handbrake. Let the brakes cool fully first. Do not inspect them just after a journey, as the discs and wheels can be very hot.
Look through the spokes of the alloy wheel, or through an opening in a steel wheel. You are looking for the brake disc, which is the flat metal disc that turns with the wheel, and the pad material sitting against it. The pad has a metal backing plate with a layer of friction material attached.
A healthy pad should have a clearly visible layer of friction material. As a general guide, around 3mm or less means the pads should be checked and planned for replacement soon. At roughly 2mm or below, they are close to the end of their safe working life and should be replaced without delay.
This check is useful, but it has limits. On many cars, you can only see the outer brake pad. The inner pad may be more worn, particularly if there is a sticking calliper. Dirt, wheel design and poor light can also make it difficult to judge the thickness properly.
Do not put your hands through the wheel near brake parts, and never rely on a quick glance if you have symptoms. A trained technician can remove the wheel, inspect both pads, check the discs and test that the calliper is operating correctly.
Check both sides of the car
Look at the brakes on both front wheels, then both rear wheels where possible. The pads on each axle should wear at a similar rate. If one side looks much thinner than the other, there may be more than normal wear taking place.
Uneven wear does not always mean an immediate breakdown, but it needs investigating. The cause could be a seized component or a fault with the braking system. Fixing the cause at the same time protects the new parts and helps the car brake evenly.
Signs your brake pads need attention
You cannot always see the pads, but the car often gives other clues. Pay attention if you notice any of the following:
- A high-pitched squeal when braking, especially at low speed
- A harsh grinding or scraping noise when you press the pedal
- The car pulling to one side under braking
- A brake warning light or pad wear warning light on the dashboard
- A brake pedal that feels different, or takes more effort to slow the car
- An MOT advisory mentioning brake pad wear, discs or uneven braking
A light squeal can sometimes be caused by dust, damp conditions or the pad material itself. It does not automatically mean the pads are worn out. Grinding is more serious. This usually happens when the friction material has worn away and metal is contacting the brake disc. Stop driving as soon as it is safe to do so and arrange an inspection.
A pulling sensation, vibration through the pedal or steering wheel, and a soft pedal can have several causes. Worn pads may be part of the problem, but warped or corroded discs, sticking callipers, brake fluid issues and suspension faults can also be involved. That is why a proper diagnosis matters.
Check the brake discs at the same time
When you look through the wheel, inspect the visible face of the disc as well. A disc should look reasonably smooth and even. A light surface coating of rust after rain or overnight parking is normal and often clears after a few gentle brake applications.
Deep grooves, a pronounced outer lip, blue heat marks, cracks or heavy corrosion are different. These can affect braking performance and may mean the discs need replacing with the pads.
Pads and discs are often replaced together when the discs are too worn, damaged or below the manufacturer’s minimum thickness. It depends on their condition. Fitting new pads to poor discs can lead to noise, vibration and reduced pad life, so a garage should measure and assess them rather than guess.
Do not rely on mileage alone
There is no single mileage at which every brake pad needs changing. Some drivers need front pads after 20,000 miles, while others may get far more from a set. Vehicle weight, automatic braking systems, towing, driving style and daily routes all make a difference.
The service history can offer a useful clue, but inspection is more reliable than mileage. If your last service noted pads at 4mm, arrange a check sooner rather than waiting until the next annual service. The same applies if an MOT report has mentioned wear.
For most everyday drivers, asking for the brakes to be inspected at every service and MOT is enough. If you cover lots of stop-start miles or hear a new noise, have them checked sooner.
When not to drive the car
Do not keep using the vehicle if there is grinding from a wheel, a red brake warning light, a noticeably weak brake pedal, brake fluid leaking around a wheel, or the car is pulling sharply when braking. These signs can point to a fault beyond normal pad wear.
If the car is not stopping as it should, do not take chances on a longer journey. Arrange recovery support or speak to a local garage for advice. A brake problem can get worse quickly, and continuing to drive may damage discs, callipers and other parts.
What happens during a professional brake inspection
A proper brake check is more than looking through the wheel. The technician removes the wheels where needed, measures the remaining pad material and checks both inner and outer pads. They inspect disc condition, brake hoses, callipers, carriers and slider pins, then look for leaks or uneven wear.
If pads are needed, you should be told what has worn, whether the discs also need attention, and why. Clear advice matters here. There is no benefit in changing parts that are still serviceable, but there is also no sense in fitting new pads where a sticking calliper will ruin them again.
At AutoFix4u, we explain the condition of the brakes in plain English and provide a clear repair plan before work starts. For drivers in Lowestoft and nearby areas, same-day slots may be available for urgent brake inspections and repairs, depending on parts availability.
Book a brake check before a small issue grows
A quick visual check is a useful habit, especially before a long journey or after an MOT advisory. But if the pads look thin, the brakes are noisy, or the pedal feels different, get the vehicle inspected properly. Call for a quote or book a brake check, and you can make a decision with clear information rather than waiting for the noise to become a bigger problem.


